Here are the steps for installing the printer driver via USB. Get your printer ready but do not switch it on and do not connect it to your computer yet. Download the SMS printer driver and start the SMS-Printer-Drivers-V5.exe file Click (Click to enlarge) Choose (Click to enlarge) Connect the printer to your PC via the USB cable, then turn the printer (Click to enlarge) The wizard will recognise your SMS printer and after this, the printer driver will be installed automatically! Here are the steps for installing the printer driver via USB. Get your printer ready but do not switch it on and do not connect it to your computer yet. Download the SMS printer driver and start the SMS-Printer-Drivers-V5.exe file Click (Click to enlarge) Choose (Click to enlarge) Connect the printer to your PC via the USB cable, then turn the printer (Click to enlarge) The wizard will recognise your SMS printer and after this, the printer driver will be installed automatically! Install the NiceLabel software so that you can design and print labels. Download your software version below and start the installation file. Go through the installation and select the option: (Click to enlarge) Enter your license code and click Next (Click to enlarge) Decide which software modules you want to install and click on Next (Click to enlarge) Decide where you want to install NiceLabel and select Next. The software will now be installed. Once the installation is complete, launch the NiceLabel Designer application using the shortcut on your desktop. You will now see the activation wizard: (Click to enlarge) Install the NiceLabel software so that you can design and print labels. Download your software version below and start the installation file. Go through the installation and select the option: (Click to enlarge) Enter your license code and click Next (Click to enlarge) Decide which software modules you want to install and click on Next (Click to enlarge) Decide where you want to install NiceLabel and select Next. The software will now be installed. Once the installation is complete, launch the NiceLabel Designer application using the shortcut on your desktop. You will now see the activation wizard: (Click to enlarge) The utilities below are required or recommended when using NiceLabel label software to make it even easier for you to design and print your labels. SVG Explorer Do you not see an example of these symbols? In your Windows Explorer, click the Old clipart (WMF) Do you not see an example of these symbols? Download and install Microsoft Database Engine The utilities below are required or recommended when using NiceLabel label software to make it even easier for you to design and print your labels. SVG Explorer Do you not see an example of these symbols? In your Windows Explorer, click the Old clipart (WMF) Do you not see an example of these symbols? Download and install Microsoft Database Engine The steps below describe how the materials are placed. The steps below describe how the materials are placed. Watch instructional video (Click to enlarge) Watch instructional video (Click to enlarge) Installing the print ribbon (Click to enlarge this image) Installing the print ribbon (Click to enlarge this image) Positioning the sensor • Are you using a roll of continuous tape or a roll of labels with spaces or black stripes on the back? Then place the sensor in the centre. • Are you using a roll of special labels with cutouts such as Tags, Shrink Tubes, Cable Tags, etc.? Please place the sensor exactly below the cutout. Positioning the sensor • Are you using a roll of continuous tape or a roll of labels with spaces or black stripes on the back? Then place the sensor in the centre. • Are you using a roll of special labels with cutouts such as Tags, Shrink Tubes, Cable Tags, etc.? Please place the sensor exactly below the cutout. The steps below describe how the materials are placed. The steps below describe how the materials are placed. Watch instructional video (Click to enlarge) Watch instructional video (Click to enlarge) Installing the print ribbon (Click to enlarge this image) Installing the print ribbon (Click to enlarge this image) Positioning the sensor • Are you using a roll of continuous tape or a roll of labels with spaces or black stripes on the back? Then place the sensor in the centre. • Are you using a roll of special labels with cutouts such as Tags, Shrink Tubes, Cable Tags, etc.? Please place the sensor exactly below the cutout. Positioning the sensor • Are you using a roll of continuous tape or a roll of labels with spaces or black stripes on the back? Then place the sensor in the centre. • Are you using a roll of special labels with cutouts such as Tags, Shrink Tubes, Cable Tags, etc.? Please place the sensor exactly below the cutout. NiceLabel settings Open NiceLabel Designer and goto File>Options Click on tab Designer At Opening modus selection option Display each document in its own window. ClickOK to save the changes Material-specific printer settings Open the printer driver settings to change e.g. cutter/tear strip, heat, speed, sensor choice for material type (media type): Open or create a label and click on the printer icon The tab Options (Options)include heat and speed settings. (Click to enlarge) If you use continuous rolls of tape then the Media type must be set to“Continuous” For rolls of labels without marks/stripes on the back Media type must be set to“Label with gaps” Are you using material with cut-outs or marks/stripes on the back side? Select Media type “Label with marks” NiceLabel settings Open NiceLabel Designer and goto File>Options Click on tab Designer At Opening modus selection option Display each document in its own window. ClickOK to save the changes Material-specific printer settings Open the printer driver settings to change e.g. cutter/tear strip, heat, speed, sensor choice for material type (media type): Open or create a label and click on the printer icon The tab Options (Options)include heat and speed settings. (Click to enlarge) If you use continuous rolls of tape then the Media type must be set to“Continuous” For rolls of labels without marks/stripes on the back Media type must be set to“Label with gaps” Are you using material with cut-outs or marks/stripes on the back side? Select Media type “Label with marks” Watch the instructional videos to familiarise yourself with your printer and software. Do you want to use ready-made templates that you can easily edit and print?Getting started with your
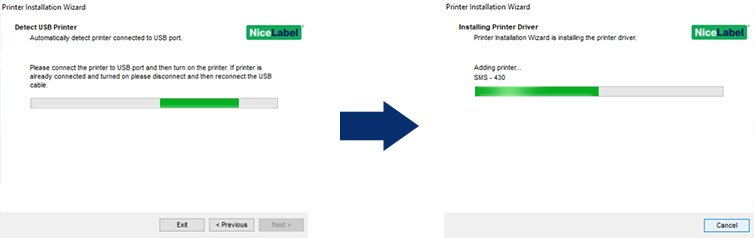
SMS-430

Would you like to set up the printer for use via a LAN connection afterwards? Then watch the relevant instruction video (Step 6 | Instructional videos).1
2
(Error downloading? Right-click and select “Save as”)![]()
3
Unzip
and then follow the installation wizard
4
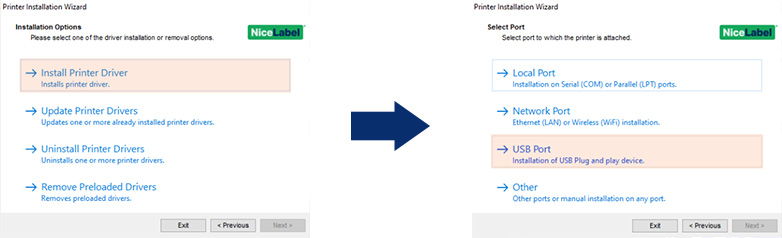
Install Printer Driver
and select the option
USB port
5
ON
(Failed to install? Contact support@rebo.nl or call +31 (0)35 – 2400 137)

Would you like to set up the printer for use via a LAN connection afterwards? Then watch the relevant instruction video (Step 6 | Instructional videos).1
2
(Error downloading? Right-click and select “Save as”)![]()
3
Unzip
and then follow the installation wizard4
Install Printer Driver
and select the option
USB port
5
ON
(Failed to install? Contact support@rebo.nl or call +31 (0)35 – 2400 137)
Tip: Have your NiceLabel licence code ready.1
NiceLabel 10
NiceLabel 2019
(Error when downloading? Right-click and select “Save as”)
2
Software licence or Hardware licence and click Next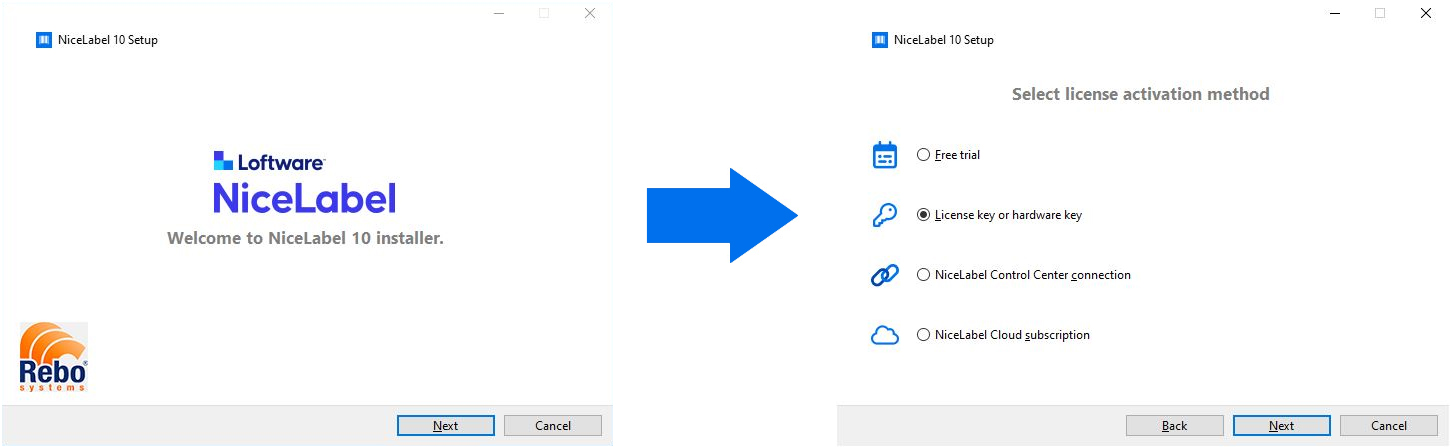
3
You will receive the licence code by email and it will also be stated on the delivery note and invoice.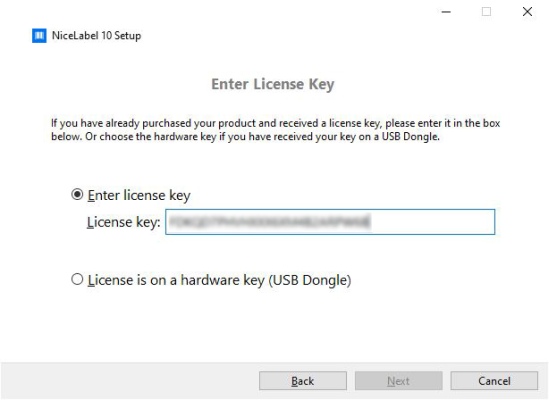
4
(Do you have a PowerForms Suite licence and concerns installation on a workstation on which Automation will not run: then turn the Automation module off)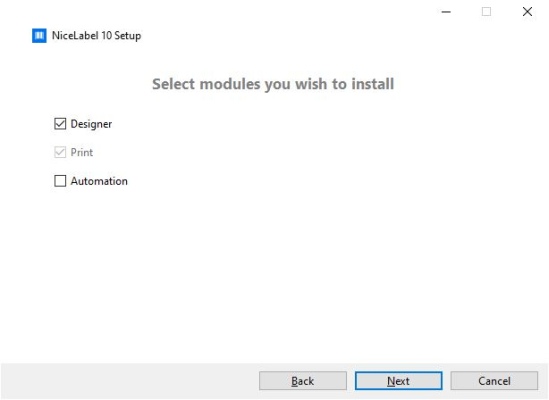
5

6

7
Under Activate licence, click on Activate
Under Licence Key, click Activate
Fill in your details and click on Activate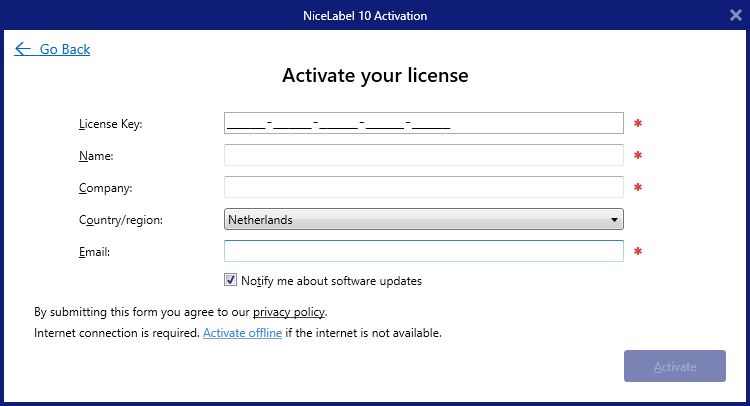
Tip: Have your NiceLabel licence code ready.1
NiceLabel 10
NiceLabel 2019
(Error when downloading? Right-click and select “Save as”)2
Software licence or Hardware licence and click Next3
You will receive the licence code by email and it will also be stated on the delivery note and invoice.4
(Do you have a PowerForms Suite licence and concerns installation on a workstation on which Automation will not run: then turn the Automation module off)5
6
7
Under Activate licence, click on Activate
Under Licence Key, click Activate
Fill in your details and click on Activate1
Windows Explorer plug-in for previewing SVG images.
![]()
2
Graphic Symbols Library V4
Exclusive to our customers: thousands of industrial & technical symbols, official seals and logos in high quality.
Right click
>
View
>
Normal icons
or
Large icons
Looking for old symbols that were in our previous version(s) of clipart? You can download them below. Note: These do not meet the latest ISO standards.
this free tool
. After this, in your Windows Explorer, click the
Right click
>
View
>
Normal icons
or
Large icons
![]()
3
Required to associate NiceLabel with a Microsoft Excel or Access file.![]()
1
Windows Explorer plug-in for previewing SVG images.
![]()
2
Graphic Symbols Library V4
Exclusive to our customers: thousands of industrial & technical symbols, official seals and logos in high quality.
Right click
>
View
>
Normal icons
or
Large icons
Looking for old symbols that were in our previous version(s) of clipart? You can download them below. Note: These do not meet the latest ISO standards.
this free tool
. After this, in your Windows Explorer, click the
Right click
>
View
>
Normal icons
or
Large icons
![]()
3
Required to associate NiceLabel with a Microsoft Excel or Access file.![]()
Watch in this instruction video how to place the label material and print ribbon.
(Do you still have questions after viewing? Please contact our support department)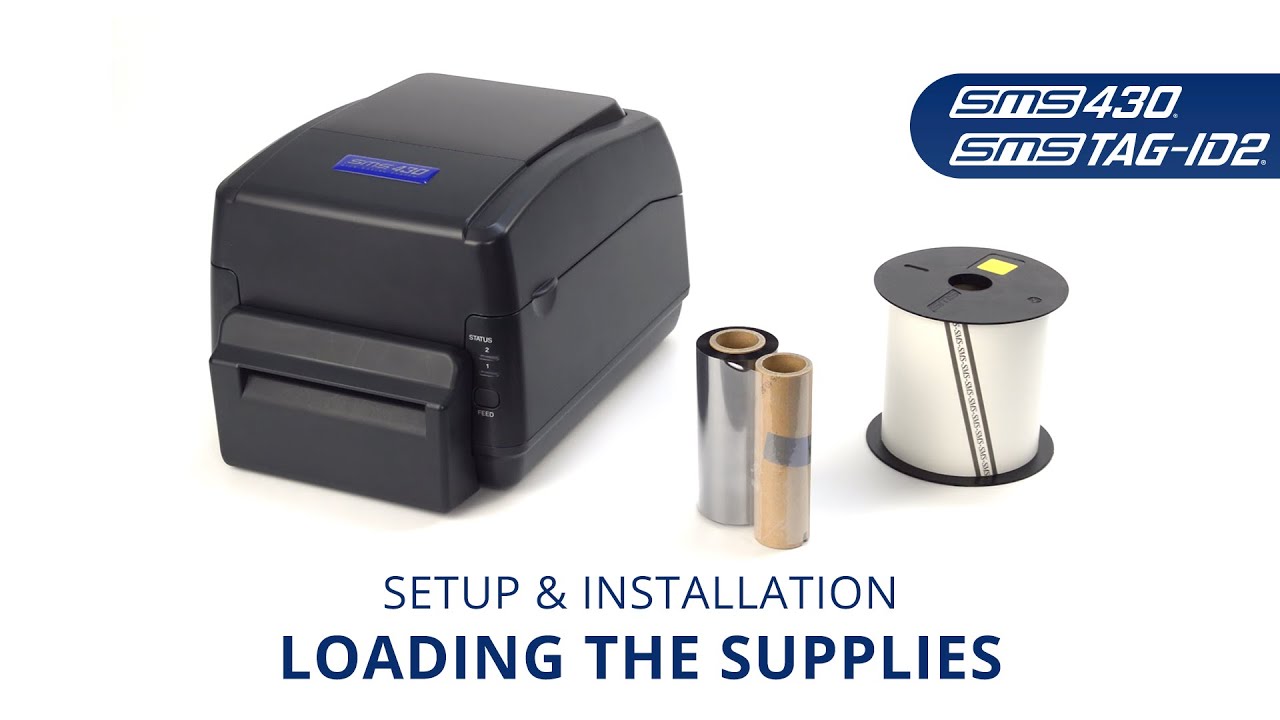
Watch in this instruction video how to place the label material and print ribbon.
(Do you still have questions after viewing? Please contact our support department)
There is only one correct way to install the print ribbon.
It is important to place the empty/used roll at the top and the full/new roll at the bottom. Make sure that the matte side of the ribbon is facing your way.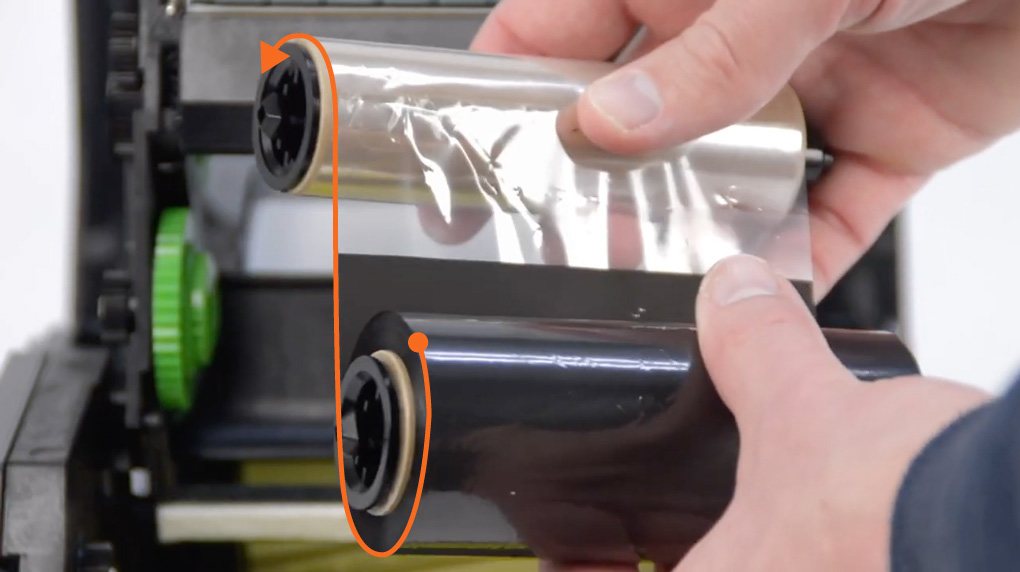
There is only one correct way to install the print ribbon.
It is important to place the empty/used roll at the top and the full/new roll at the bottom. Make sure that the matte side of the ribbon is facing your way.
Because your printer has to calibrate to the material, it is important that the sensor is in the right position.
Because your printer has to calibrate to the material, it is important that the sensor is in the right position.
Watch in this instruction video how to place the label material and print ribbon.
(Do you still have questions after viewing? Please contact our support department)
Watch in this instruction video how to place the label material and print ribbon.
(Do you still have questions after viewing? Please contact our support department)
There is only one correct way to install the print ribbon.
It is important to place the empty/used roll at the top and the full/new roll at the bottom. Make sure that the matte side of the ribbon is facing your way.
There is only one correct way to install the print ribbon.
It is important to place the empty/used roll at the top and the full/new roll at the bottom. Make sure that the matte side of the ribbon is facing your way.
Because your printer has to calibrate to the material, it is important that the sensor is in the right position.
Because your printer has to calibrate to the material, it is important that the sensor is in the right position.
Perform the following steps:1
2
![]()
3
At Source printer settings selectoption Printer settings saved in the label .

4
In most cases, the printer’s default settings are sufficient and you do not need to change anything.
Should it be necessary, you can adjust these settings as required.1

2
The tab Advanced Settings (Advanced Setup) include media type and scissor/scissor strip settings.
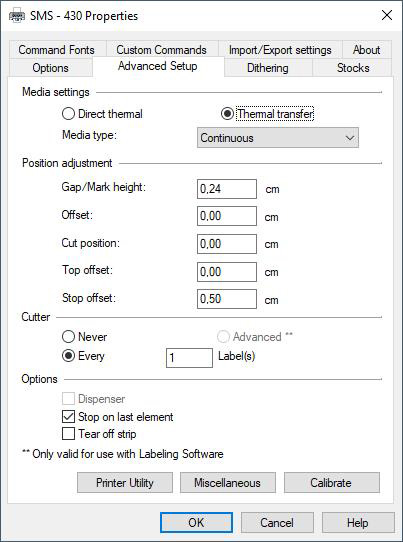

Continuous roll of tape


Roll of die-cut labels with gaps


Roll with marks/stripes or cut-outs

Perform the following steps:1
2
![]()
3
At Source printer settings selectoption Printer settings saved in the label .
4
In most cases, the printer’s default settings are sufficient and you do not need to change anything.
Should it be necessary, you can adjust these settings as required.1
2
The tab Advanced Settings (Advanced Setup) include media type and scissor/scissor strip settings.
Continuous roll of tape
Roll of die-cut labels with gaps
Roll with marks/stripes or cut-outs
Do you have questions that are not answered here? Please contact our support department.Loading the supplies
This video shows you how to install tapes and print ribbons.
USB driver Installation
Here you can see how to install the printer driver for USB.
Network driver installation
See how to install the printer driver for LAN (network).
Design & print labels
Here we show you how to design and print your labels.
NiceLabel basics
Learn the basics about objects, tools, alignment and variable data integration.
Excel database connections
See how to establish an Excel database connection with variable data.
Download one of the labels below by clicking on an image.
(Can’t download this file? Right click on an image and select Save As)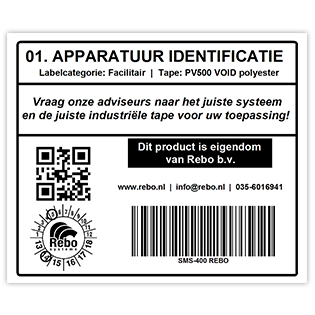
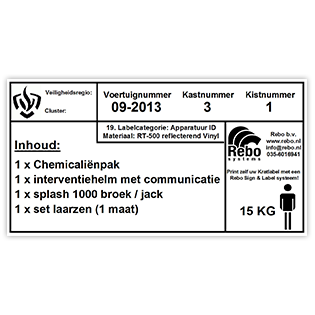
Equipment ID label

Maintenance tag
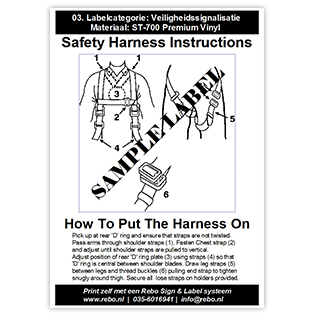
Safety instruction

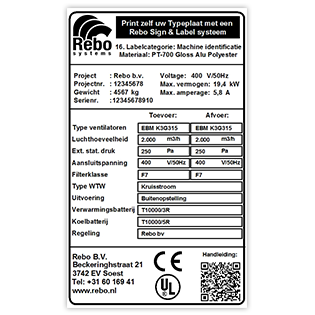
Machine plate
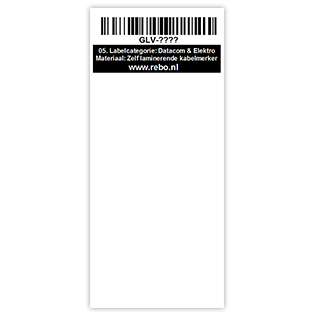
Wire Wrap
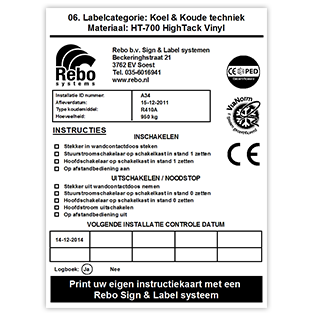
Instruction card
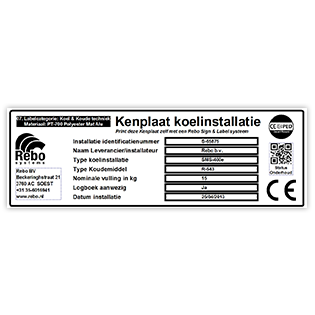
Rating plate
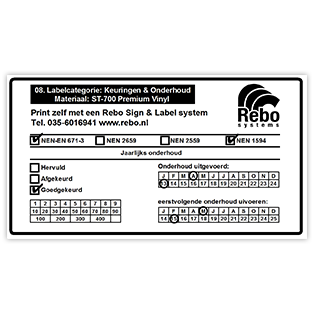
Inspection sticker
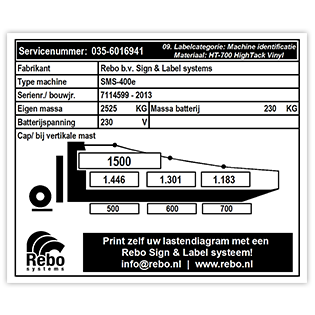
Load diagram
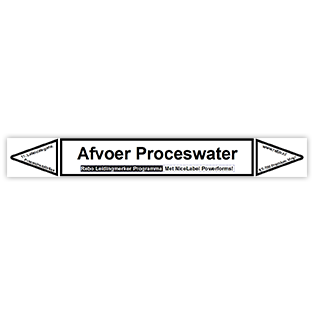
Pipe marker
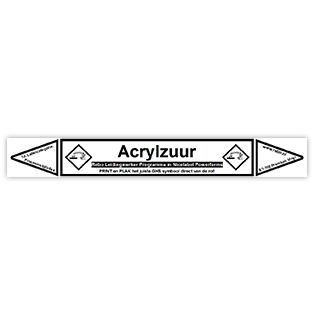
Pipe marker (GHS)
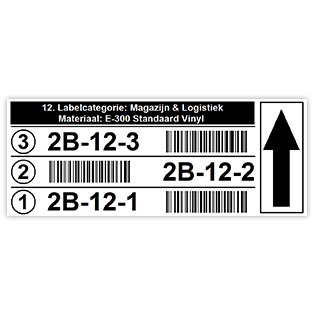
Multi-level location label
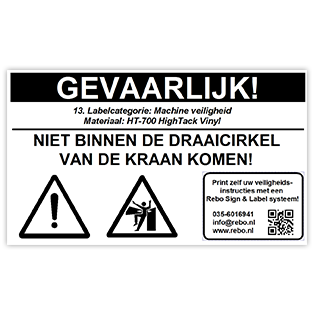
Machine safety label
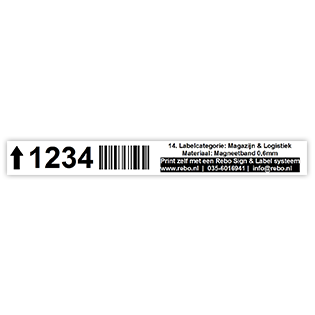
Magnetic tape barcode
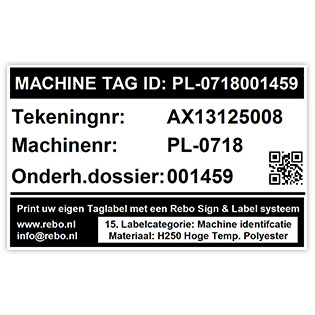
Machine Tag label
Machine ID label

Escape route label
Crate label

LEAN 5S label
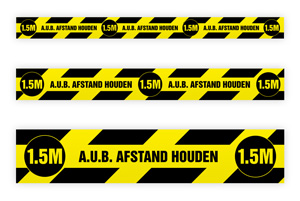
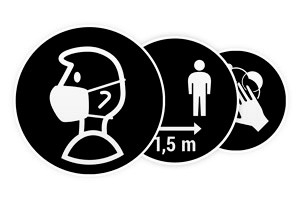
Keep distance v1
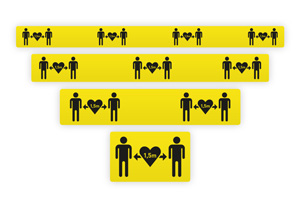
Keep distance v2
Keep distance v3
Corona rules
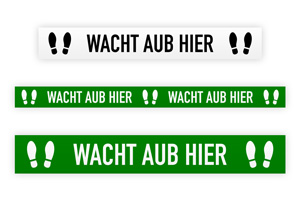
Please wait here
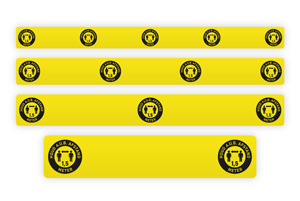
Hygiene rules (round)

Please keep distance

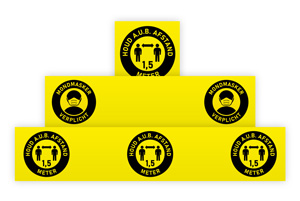
Face mask mandatory
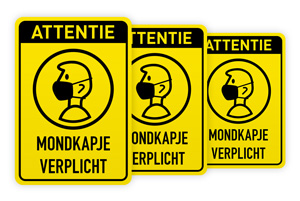
Mandatory face mask
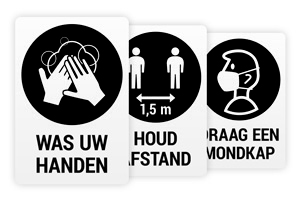
Hygiene rules v1
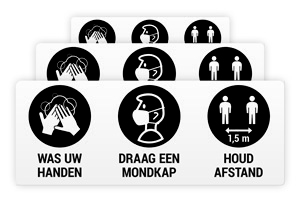
Hygiene rules v2
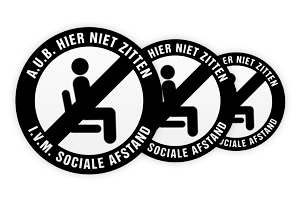
Please do not sit here
Getting started!

